
How-To Install and Maintain Underground Rainwater Storage Tanks Efficiently
- zoehsewell
- Aug 11, 2025
- 5 min read
Updated: Nov 13, 2025

Underground rainwater storage tanks are revolutionizing how Australian homeowners manage water resources. These hidden gems offer a brilliant solution for capturing and storing rainwater, particularly in regions where water restrictions and rising utility costs are becoming the norm. Whether you're looking to water your garden, flush toilets, or even supply your washing machine, underground tanks provide a sustainable answer to water independence.
This comprehensive guide walks you through everything from choosing the right tank to professional installation techniques and long-term maintenance strategies. You'll discover cost breakdowns, DIY possibilities, common pitfalls to avoid, and expert tips for maximizing your system's efficiency. By the end, you'll have all the knowledge needed to make an informed decision about whether underground rainwater storage tanks is right for your property.
Understanding Underground Rainwater Storage Tanks: The Basics
What Are Underground Rainwater Storage Tanks?
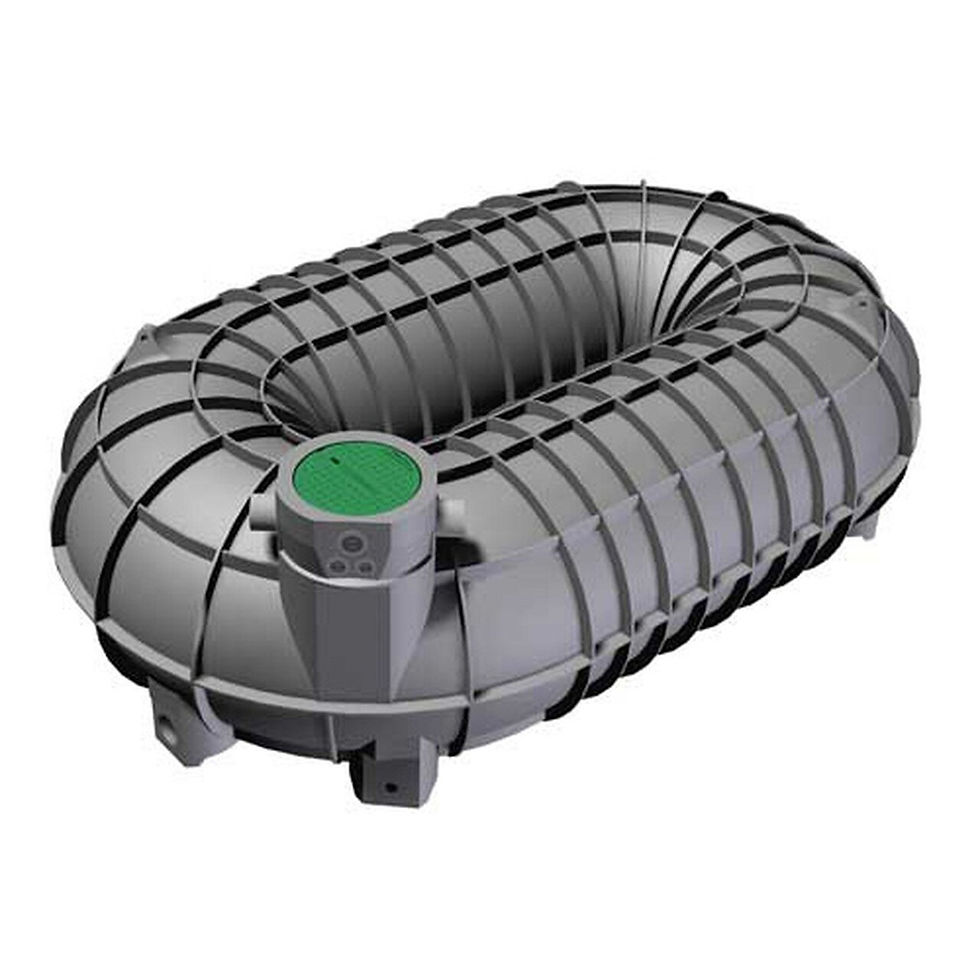
Underground rainwater storage tanks are large containers buried beneath your property's surface, designed to collect and store rainwater from your roof. Unlike their above-ground cousins, these tanks sit completely hidden from view, typically installed under driveways, lawns, or garden beds. They connect to your home's downpipes through a network of underground pipes, capturing water that would otherwise flow into stormwater drains.
These systems come in various shapes and sizes, from cylindrical designs to rectangular configurations that maximize storage capacity in tight spaces. Most modern underground tanks feature robust construction with reinforced walls capable of withstanding soil pressure and vehicle loads when properly installed. They're equipped with access points for maintenance, overflow systems, and often include pumps to deliver water back to your home.
Benefits Over Above-Ground Alternatives
Space-saving is perhaps the most obvious advantage of going underground. While above-ground tanks can dominate a backyard, underground options preserve your outdoor living areas completely. You can install a massive tank under your driveway or lawn without losing a single square meter of usable space. Plus, there's no unsightly tank disrupting your garden's visual appeal.
Temperature regulation presents another significant benefit. Underground tanks maintain more consistent water temperatures throughout the year, protected from scorching summer heat and winter cold. This natural insulation reduces algae growth and keeps water fresher for longer periods. The stable temperature also means less stress on tank materials, potentially extending the system's lifespan.
Common Tank Materials and Their Lifespan
Concrete tanks remain a popular choice for underground installation, offering exceptional durability and strength. These tanks can last 50 years or more with proper maintenance, making them a long-term investment. They're particularly well-suited to areas with high water tables or unstable soil conditions. However, they require careful installation to prevent cracking and may need periodic resealing. Polyethylene (poly) tanks have gained tremendous popularity due to their lighter weight and easier installation. Modern poly tanks designed for underground use feature reinforced walls and can last 20-30 years. They're resistant to corrosion and typically come as one-piece units, eliminating concerns about leaking joints. The main consideration is ensuring proper support during backfilling to prevent deformation.
Underground Rainwater Storage Tanks Installation
When to Call in the Experts: Certain situations definitively require professional involvement. High water tables need specialized dewatering equipment and installation techniques beyond typical DIY capabilities. Rocky ground often necessitates hydraulic breakers or even blasting – definitely not DIY territory. Unstable soils might require engineering assessment and special installation procedures. Complex plumbing connections to household systems typically require licensed plumbers. This particularly applies when connecting to potable water supplies or installing backflow prevention devices. Electrical work for pump systems always requires licensed electricians. Attempting these tasks yourself risks legal issues and insurance problems.
Excavation: Getting the Hole Right: Accurate excavation sets the foundation for successful installation. Begin by marking out the tank footprint, adding 300-500mm clearance on all sides for working space. This extra room allows proper compaction of backfill material and simplifies pipe connections. Use string lines and levels to ensure accuracy – even small errors compound during installation. Excavation depth requires careful calculation. Factor in tank height, base material thickness, and desired tank top level. Most installations position tank tops 200-300mm below finished ground level. This provides adequate cover whilst maintaining access to inspection points. In trafficable areas, deeper installation might be necessary depending on tank specifications.
Choosing the Right Tank Size for Your Property: Calculating your ideal tank size requires balancing water collection potential with actual usage needs. Start by determining your roof's catchment area – simply multiply length by width for each roof section that'll feed your tank. In areas receiving 600mm annual rainfall, every 100 square meters of roof can potentially collect 60,000 liters yearly. Consider your intended water uses carefully. Garden irrigation might require 2,000-5,000 liters monthly during dry periods. Toilet flushing for a family of four uses roughly 3,000 liters monthly. Laundry can consume another 2,000-3,000 liters. Add these up to estimate your monthly demand, then factor in your region's rainfall patterns to determine optimal storage capacity.
Tank Placement and Positioning: Optimal tanks placement balances practical considerations with installation costs. Proximity to downpipes reduces plumbing complexity and costs. However, you'll need sufficient space for excavation equipment access. Consider future landscaping plans – you won't want to install expensive paving over your tank access points. Ground conditions significantly impact installation feasibility and cost. Level areas simplify excavation and reduce base preparation work. Avoid locations with high water tables, as these can cause tanks to float if empty. Similarly, areas prone to water logging or seasonal flooding present challenges. Rocky or extremely compact soil increases excavation costs substantially.
Connecting Pipes and Filtration Systems: Pipework installation demands attention to detail and proper gradients. Inlet pipes from roof downpipes should maintain a minimum 1:100 fall toward the tank. This ensures positive drainage whilst preventing excessive water velocity. Use swept bends rather than sharp elbows to reduce turbulence and debris accumulation. Secure pipes properly to prevent movement during backfilling. First-flush diverters installation should occur before final tank connection. These devices redirect the initial contaminated roof runoff away from your tank. Mount diverters vertically and ensure easy access for maintenance. Most systems require periodic draining – consider automated ball valves for convenience. Size diverters according to roof area; typically, 1 liter per square meter of roof.
Your Path to Sustainable Water Storage
Underground rainwater storage tanks represent a brilliant fusion of environmental responsibility and practical water management. Throughout this guide, we've explored how these hidden systems can transform your property's water independence whilst preserving precious outdoor space. From understanding the basics through professional installation techniques and long-term maintenance strategies, you now possess the knowledge to make informed decisions.
The financial mathematics increasingly favor Underground rainwater storage tanks harvesting. With rising water costs and growing environmental awareness, these systems offer compelling returns on investment. More importantly, they provide water security during restrictions and contribute meaningfully to sustainable water management. Whether you choose DIY installation for smaller systems or engage professionals for complex projects, the key lies in proper planning, quality components, and regular maintenance.


Comments